
The Driver’s Overview
Driving the 1899 Panhard is a very different experience compared to driving the sort of car most of us are used to today.
The first thing you will notice is that you are getting onto rather than into the car. Then the high seating position and lack of windscreen or any effective weather protection will become apparent. In inclement weather you would need to be clothed appropriately. Heavy clothing, hats, gloves and goggles would be required, and maybe a blanket or rug over your legs.
Charles Rolls (appropriately attired) driving the Panhard to his parent’s house for Christmas
So, you are in the driver’s seat. Perhaps surprisingly for a French car, the driving position is on the right.

View from the driver’s seat
Your first challenge - how do you start the engine? It is not just a matter of turning the key. For a start, there is no key. You would need to follow a procedure that includes pumping oil into the engine from the oilers on the dashboard, fully retarding the ignition timing, turning on the fuel tap under the driver’s side of the car, priming the carburettor and setting the choke and air inlet to the carburettor from under the bonnet, and confirming the gearbox is in neutral and the handbrake applied, before flicking on the ignition switch. If you are lucky, you will have someone available to swing the starting handle on the front of the car (a few turns with the ignition switch off to get the fuel into the cylinders, then hopefully a single turn with the ignition on), otherwise you have to get down and do that yourself.
Assuming the car is well maintained, you can expect it to start easily, at which point you can fine tune the carburettor settings and advance the ignition timing.
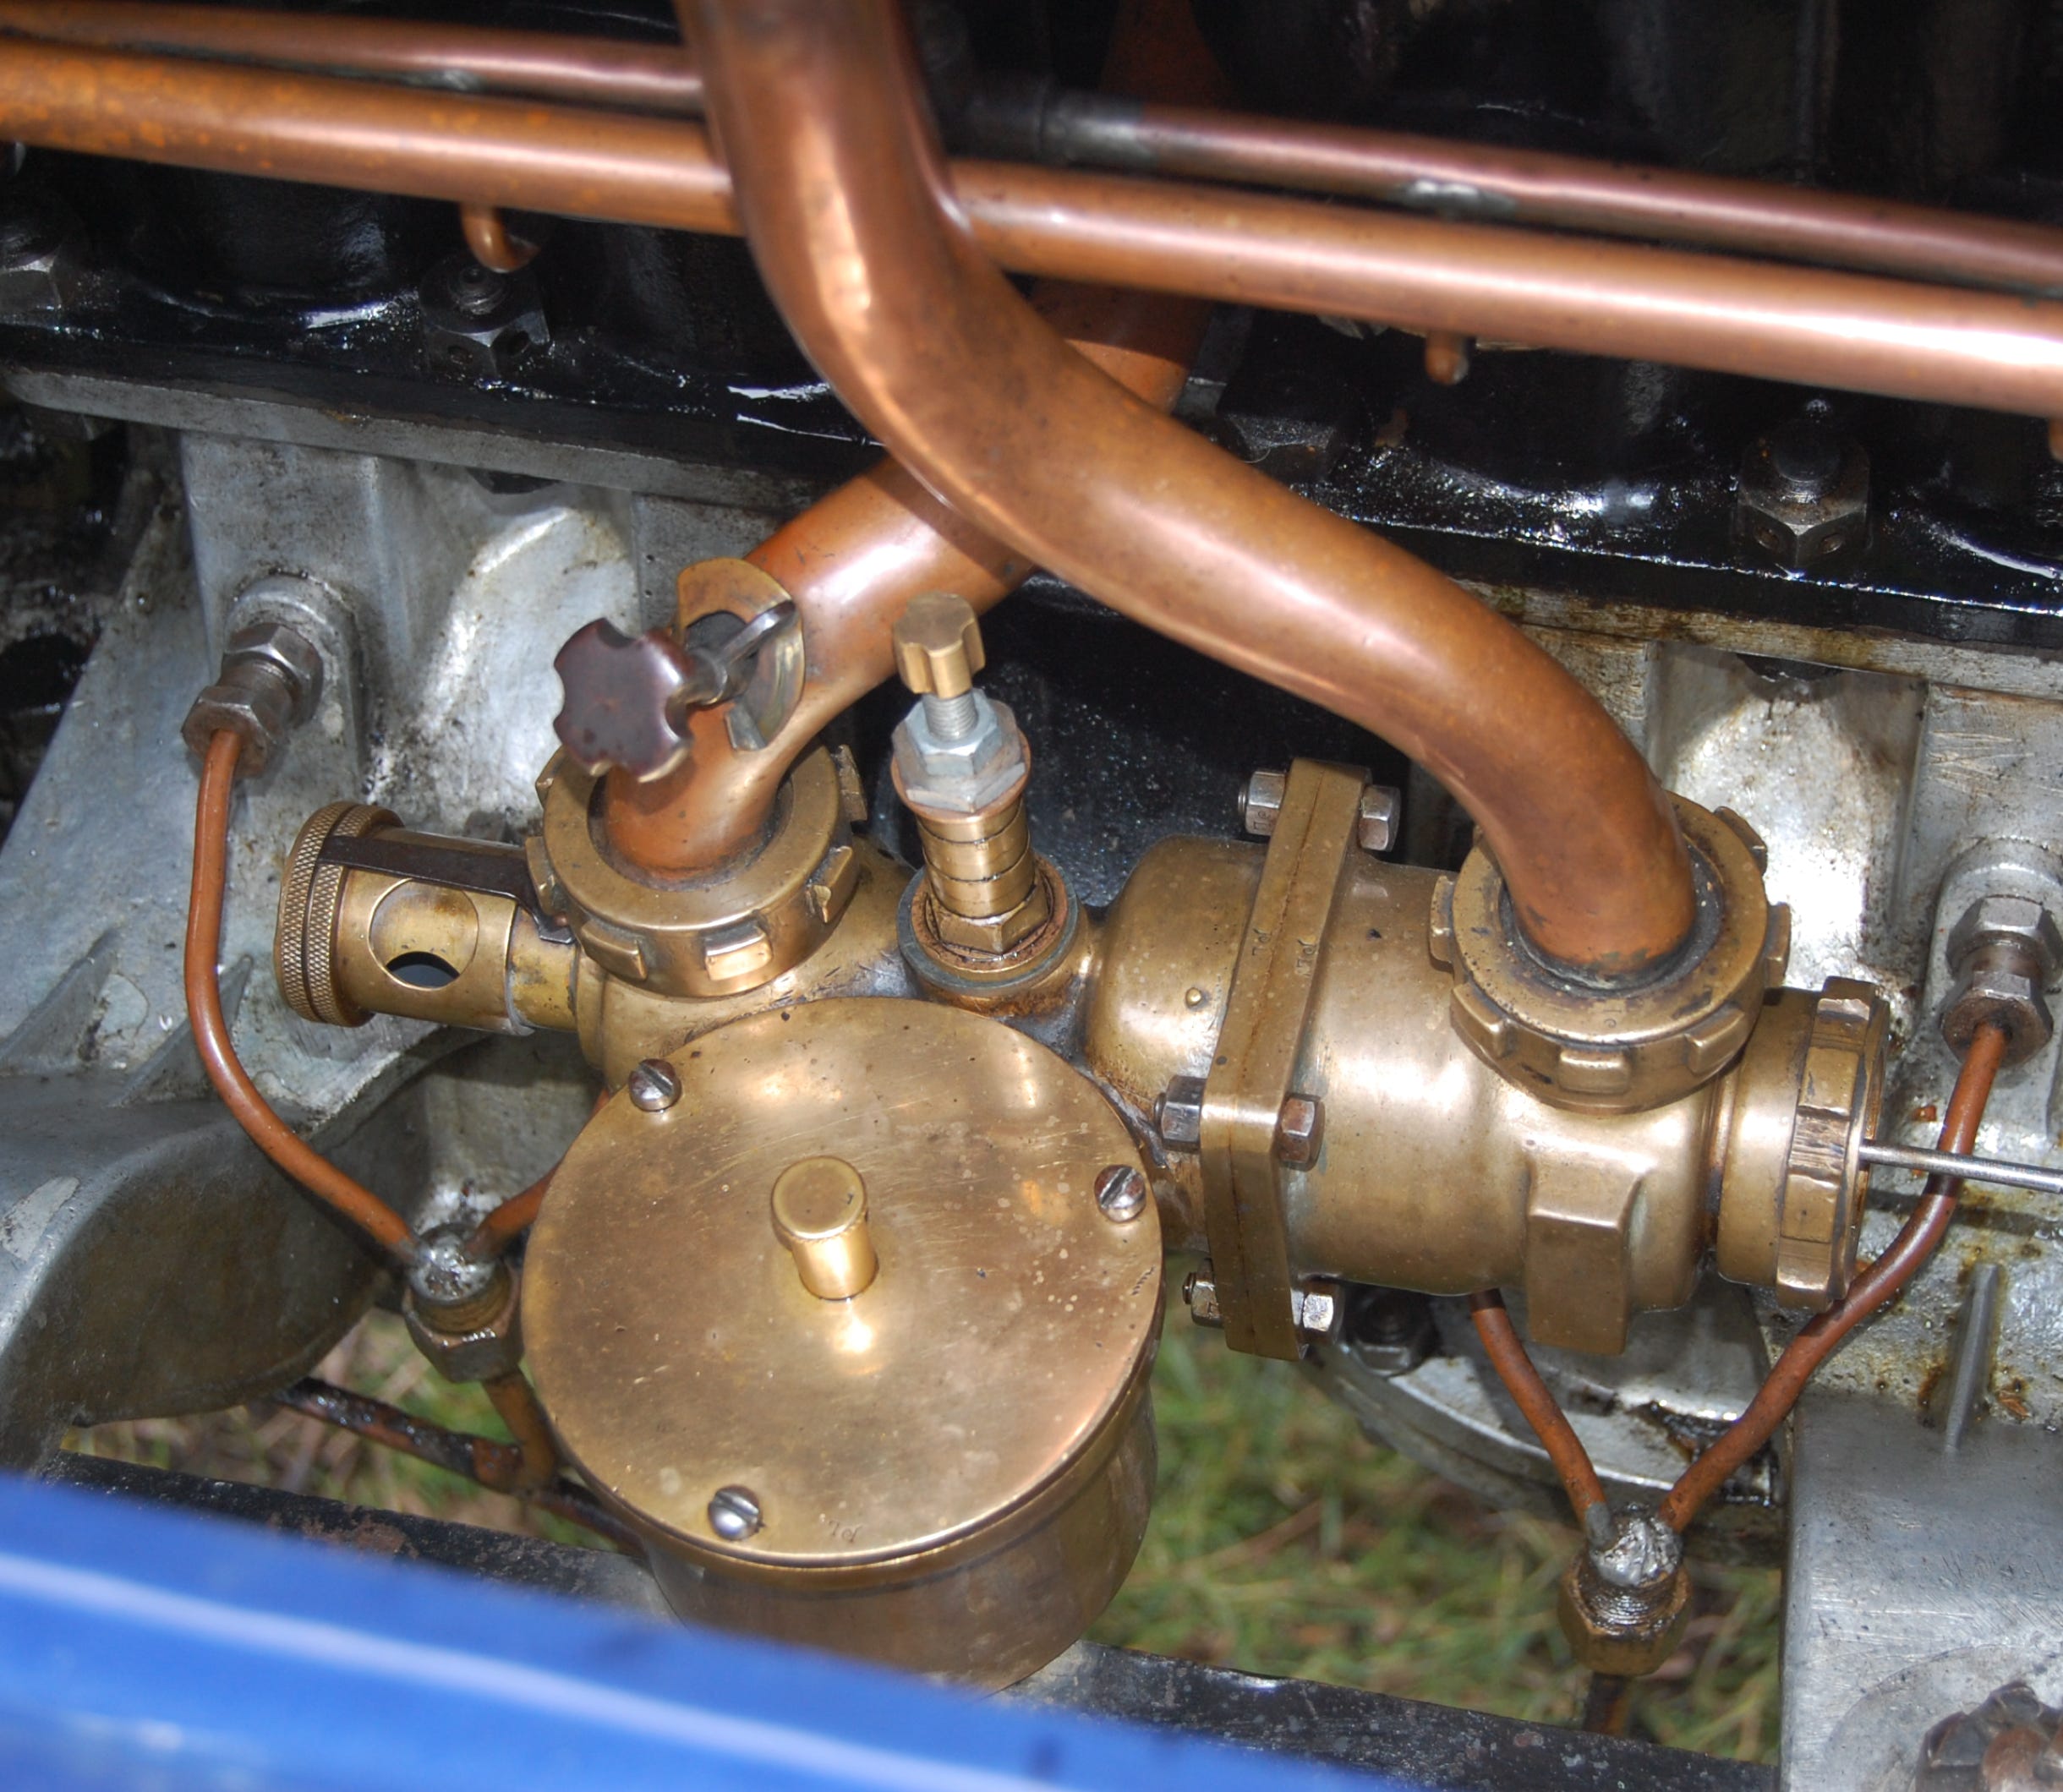
The carburettor
Back in the driver’s seat, you are ready to go. Most of the controls will appear familiar. There are three pedals, in the normal position. The difference you will need to be aware of is that what appears to be a throttle pedal is actually a governor over-ride control. The engine is designed to run at a constant speed (about 900rpm) and road speed changes are effected by changing gear. The over-ride pedal will allow higher revs assuming that sufficient power is available (if you are approaching a hill and the revs start to fall, there is no point in pressing the over-ride pedal at that point because the governor has already reached the limit of throttle opening and there is no more!).
The brake pedal only controls the rear wheels (indeed there are no front wheel brakes) and, even then, it is actually working on a drum attached to the transmission, which is prone to being very oily, so giving limited braking.
The clutch pedal works normally but is also activated by applying the brakes.
The steering wheel is well placed and the steering appears very heavy at first, but is very direct and reasonably precise so presents no problem.
The gears are controlled by two levers to your right-hand side. The innermost one has three positions. Neutral is in the centre, moving the lever backwards will result in forward drive, and moving the lever forwards will give reverse (counter-intuitive but easy to get used to).
There are four gears selected by the middle lever. The lever moves in a fore/aft direction and the position for each ratio is marked by a small notch in the adjacent quadrant engaged by a small protrusion on the lever. Finding the correct notch is straightforward when stationary, but challenging when on the move without looking down at the lever – not recommended when you are steering as well. Whilst it is unlikely to be of use, it is worth being aware that you have four gears available in reverse as well as forwards.
Gear levers and handbrake
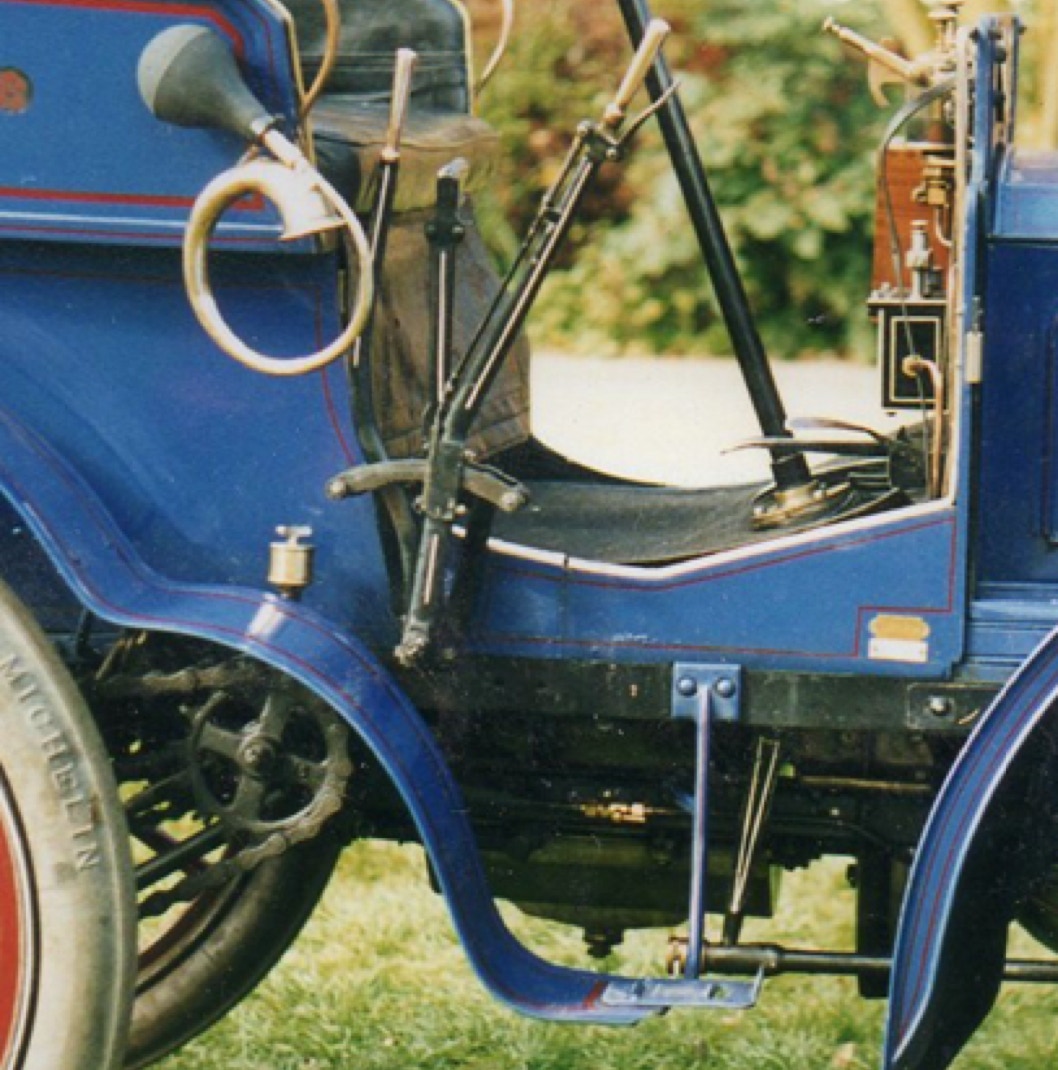
The handbrake (actually the most effective brake) is the large lever on the outside. This acts on wooden blocks clamping outside a narrow drum on each rear wheel. The mechanism is actually only effective in a forward direction. Attempting to stop the car running backwards with this alone is likely to result in the whole mechanism winding itself to destruction around the drum. There is another feature that is intended to help in this situation – the sprag brake. This is a pole positioned under the car and hinged at the front. It is held up at the rearmost free end by a leather strap clipped to the bulkhead. The principle is that if lowered the tip of the pole will dig into the ground and prevent rearward motion. In practice it is totally ineffective on modern tarmac roads. If it did happen to engage with the ground whilst the car was rolling backwards it would either snap or act as a vaulting pole.
Time to move. With the handbrake applied (which has disengaged the clutch) select forward or reverse on the inner lever, and the rearmost notch on the central lever for 1st gear. Then you can follow the normal method which is to depress the clutch pedal, release the handbrake, then bring the clutch pedal gently up. Alternatively, you can ignore the pedals and just slowly release the handbrake. If you need to indicate because you are pulling onto a road, that has to be your arm! (better still – take a passenger to be your rear-view mirror and arm waver).
Once rolling, the next challenge is changing gear. The gearbox has no synchromesh. Literally the complete gears slide along the shaft and engage the next one if you have got the timing of the gear lever movement correct. Going up the gears is relatively straightforward. Coming back down is more challenging. Preparation is beneficial. If you are approaching a hill, it will help to click the governor over-ride pedal down by a couple of notches (assuming you have done this before the engine starts slowing). Then it is a question of timing, practice, and, for all but the most capable, good luck, to get the gear you want. If you are unable to get the gears to engage (accompanied by loud grinding noises) you will have no option than to stop and start again in first gear.
At all times whilst moving, intense vigilance is required. Whilst the controls all work, they are not up to modern standards, so you need to be anticipating what might happen ahead.
If you are intending a long journey, other factors need considering. There is no fuel gauge. Checking the level means lifting the seat cushion, removing the filler cap and dipping the tank with a calibrated stick. There is very little automatic oil feed to the engine, so pumping the dash oilers at intervals may be required. Whilst it is not original, this car has a water temperature gauge so keeping a check on the coolant temperature is straightforward, but there is no fan so slow progress in traffic jams can cause overheating. If you are unfortunate enough to have a puncture, there is no spare wheel so the tyre will need to be removed at the roadside and the tube mended. Fortunately with modern road surfaces and tyre constructions this is rarely an issue, but back when this car was new it was a constant problem.
Page updated
Copyright Team Panhard
2024